

Most projects begin with a floor plan, whether that's measurements from an existing home or drawings for a new project. In our sample project today, the floor plan came from an actual kitchen that the homeowners wanted to remodel. We use Google Sketchup initially to create the 3-D model, and then may use additional programs to create the final image.

In this view, walls have been removed (and moved) in the kitchen to create a more workable space.
 In this view, I've started to add simple block shapes to experiment with various configurations. These blocks can be easily re-sized and moved around to test out possibilities. Although these views are all taken from about the same angle, in a live model we could navigate about to see what the space could look like at from eye level also.
In this view, we've continued to refine by adding upper cabinets, more appliance, and a new window. We also tried to experiment with removing the wall between the kitchen and dining areas.


Windows, countertops, wall colors, and more details are added.
Now we've added countertops, crown molding, wood flooring, and refined the wall color.
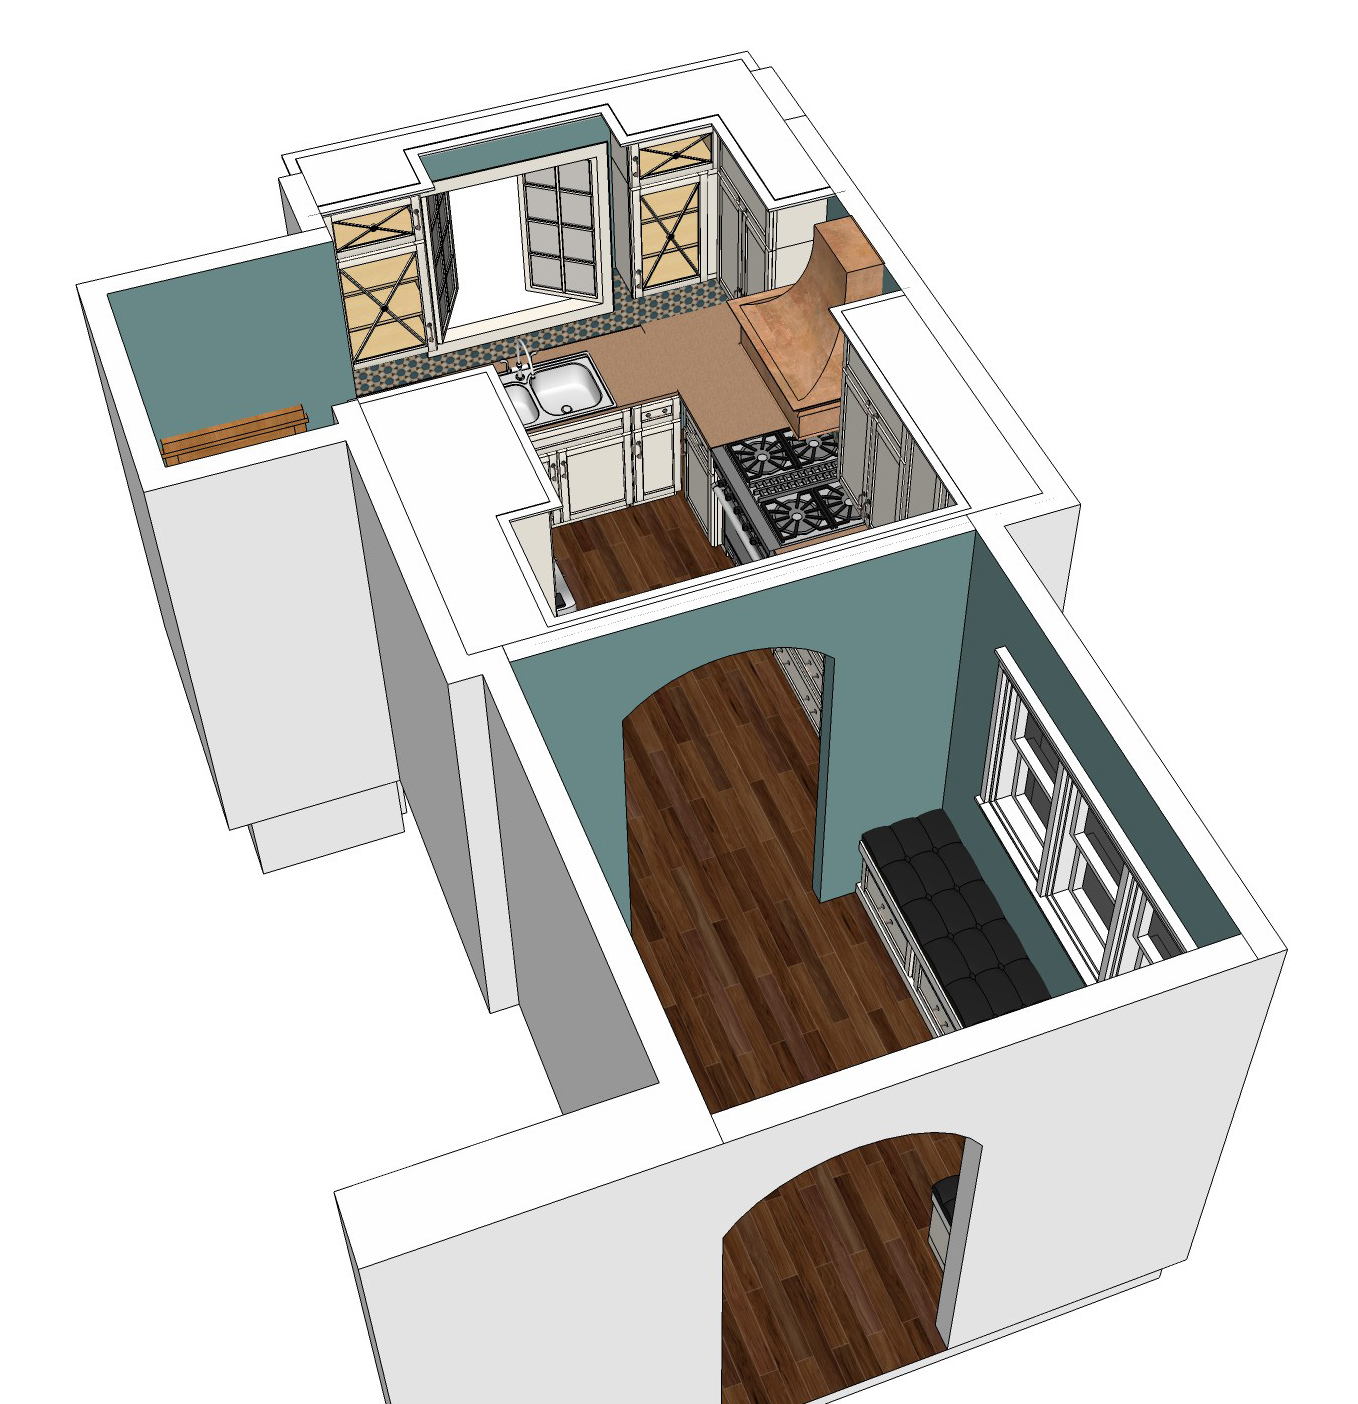
In the final version below, we've added some finishing touches in the dining area.
Our model is now complete.

Check back next week as we show different views of this project. We'll add light and shadow to help create the illusion of depth.
Later, we'll also show you how this same model can be manipulated to look like a hand-drawn image or a photograph.