Thursday, June 6, 2013

Project Spotlight: Presentation Styles

Project Spotlight:
Presentation Styles
          Many people think they don't want to use SketchUp because the models look like...well....SketchUp.  But your models don't need to look like the default SketchUp style.  You can use SketchUp's Style Palette to customize your SketchUp models.  Or you can go one step farther and bring the images into an external image editing software, such as Photoshop.  You're probably saying, "but wait...I don't have several thousand dollars to spend on another program".  The good news is that you have all the tools you need in Photoshop's consumer version of the program, called Photoshop Elements.  This program is often on sale for under $100 and gives you all the editing tools that I use from the full program.  Using these tools, you can "tweak" your images even more to customize them.  
               We cover how to use Photoshop elements in our intermediate interior design details classes.

Tuesday, September 25, 2012

Sketchup for Interior Designers

See3D's latest Sketchup class is tailored specifically for interior designers.  We take a look at specific tools for the design trade.  We'll layout spaces on screen or from a floor plan, learn how to add furniture and materials, and talk about kitchen design.  As always, we'll cover best practices for drawing with Sketchup, Styles and Shadows, moving around in Sketchup and creating dimensioned and presentation drawings.  Our first class is already underway for members of NWSID, but look for an additional class in the next month.

Friday, March 23, 2012

See3D to be Featured Presenter at the UW Home Fair

I'm excited to be selected as a Featured Presenter at the UW Home Remodeling Fair on April 11 on the University Campus.  Their theme this year is Home Innovations and they felt our tools that allow you to virtually remodel  your home  to visualize options and make good decisions was a great innovation available to today's consumer.  Here's what they had to say about See3D:


Friday, October 28, 2011

So, how do we this?


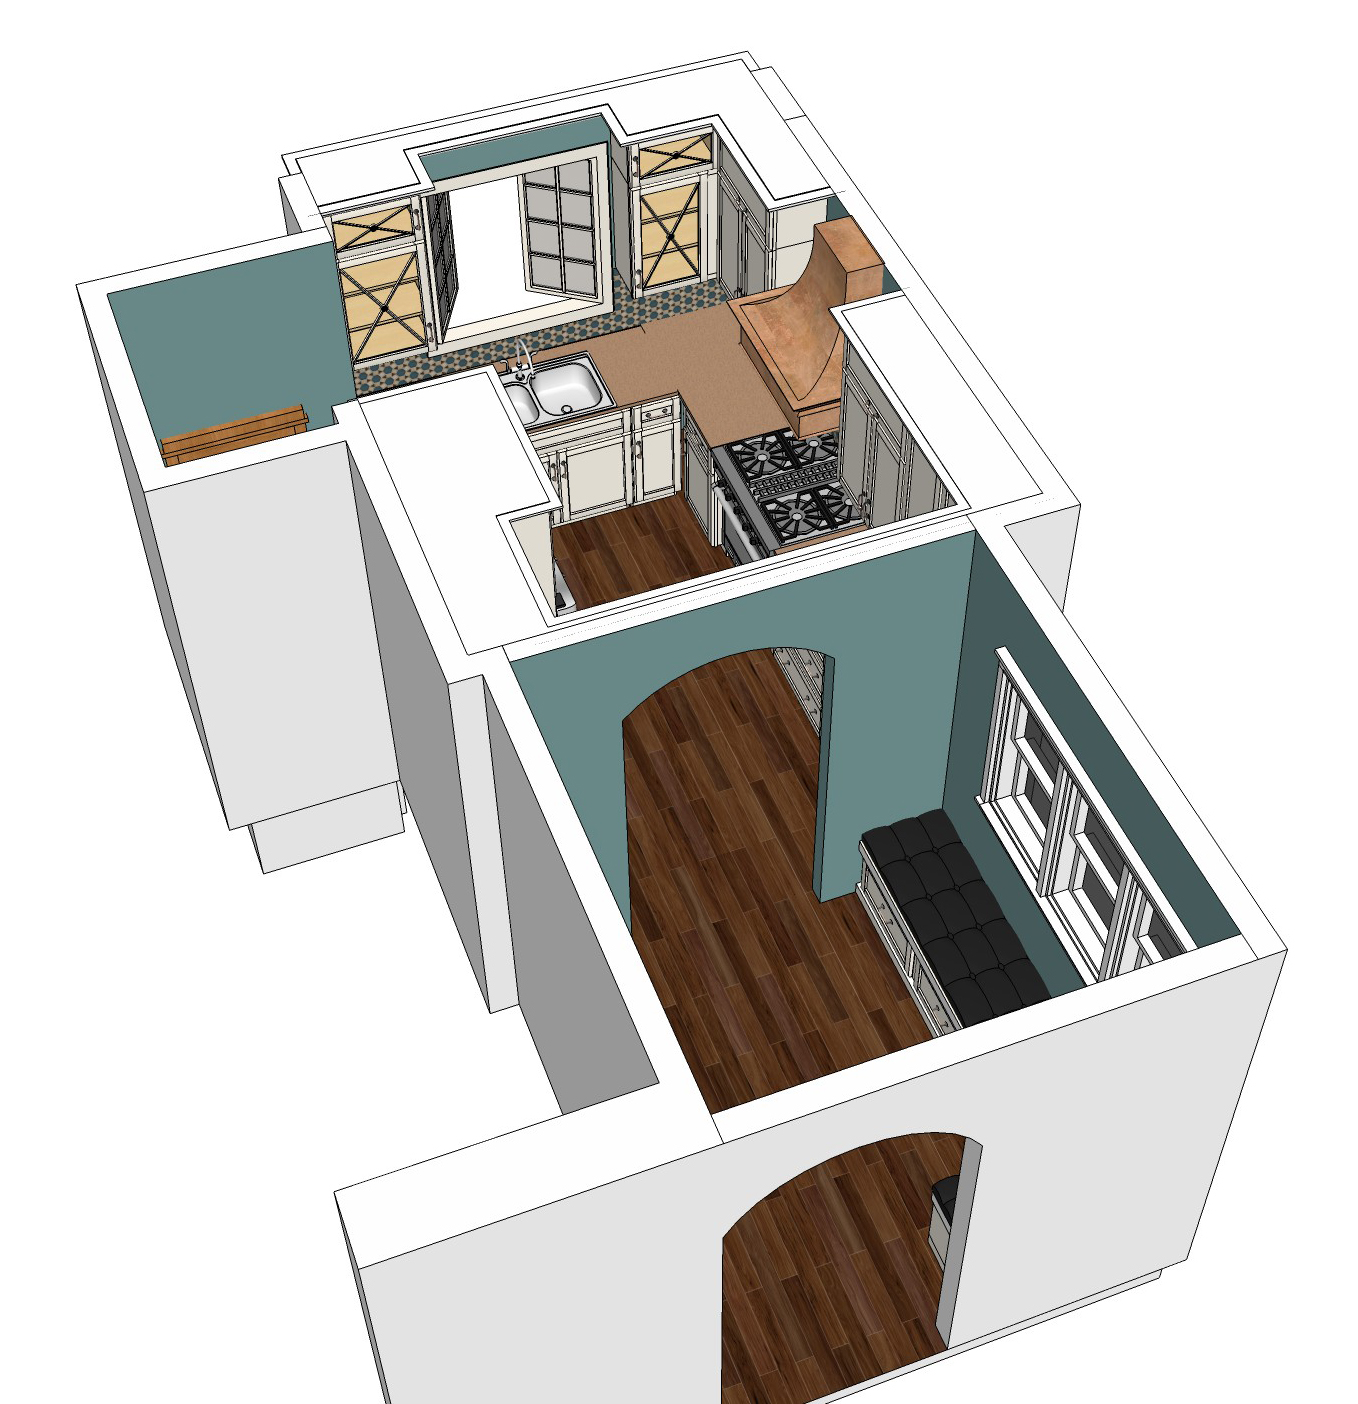
Most projects begin with a floor plan, whether that's measurements from an existing home or drawings for a new project. In our sample project today, the floor plan came from an actual kitchen that the homeowners wanted to remodel.  We use Google Sketchup initially to create the 3-D model, and then may use additional programs to create the final image.


In this view, walls have been removed (and moved) in the kitchen to create a more workable space.


In this view, I've started to add simple block shapes to experiment with various configurations. These blocks can be easily re-sized and moved around to test out possibilities. Although these views are all taken from about the same angle, in a live model we could navigate about to see what the space could look like at from eye level also.


 In this view, we've continued to refine by adding upper cabinets, more appliance, and a new window. We also tried to experiment with removing the wall between the kitchen and dining areas.


We started to add upper cabinets and refined the window size.


All the preliminary blocks are replaced with real cabinets.  These cabinets came from Sketchup's library.  Other stuff (called components in Sketchup) might be found in external libraries.


Windows, countertops, wall colors, and more details are added.


Now we've added countertops, crown molding, wood flooring, and refined the wall color.


In the final version below, we've added some finishing touches in the dining area. 
 Our model is now complete.                                                              


Check back next week as we show different views of this project.  We'll add light and shadow to help create the illusion of depth.
Later, we'll also show you how this same model can be manipulated to look like a hand-drawn image or a photograph.